Get started in less than 15 minutes.
Install ServerEngine #
# Option 1: Microsoft Store (Windows 10,11)
- Search "ServerEngine" > Install

# Option 2: Command Line (Windows 10,11)
winget install ServerEngine --silent --accept-package-agreements --accept-source-agreements

# Option 3: Download and Install (Windows Server 2019,2022,2025)
Add-AppxPackage -Path serverengine.msix -ForceApplicationShutdown
Download ServerEngine (Warning may appear due to unsecure download link)
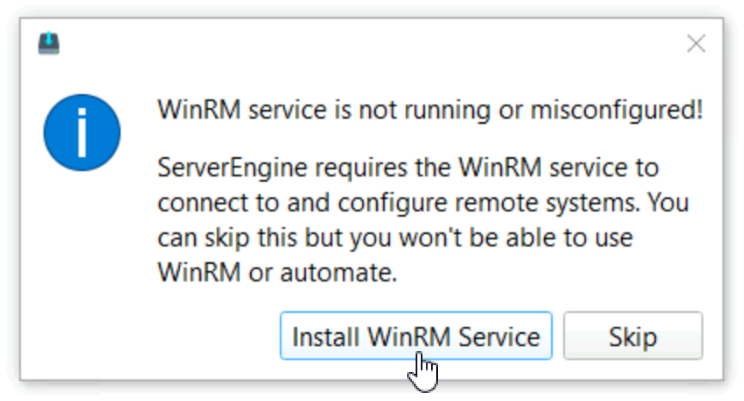
On the first startup ServerEngine needs to configure the WinRM service.
Step 1. Click on ‘Install WinRM Service’
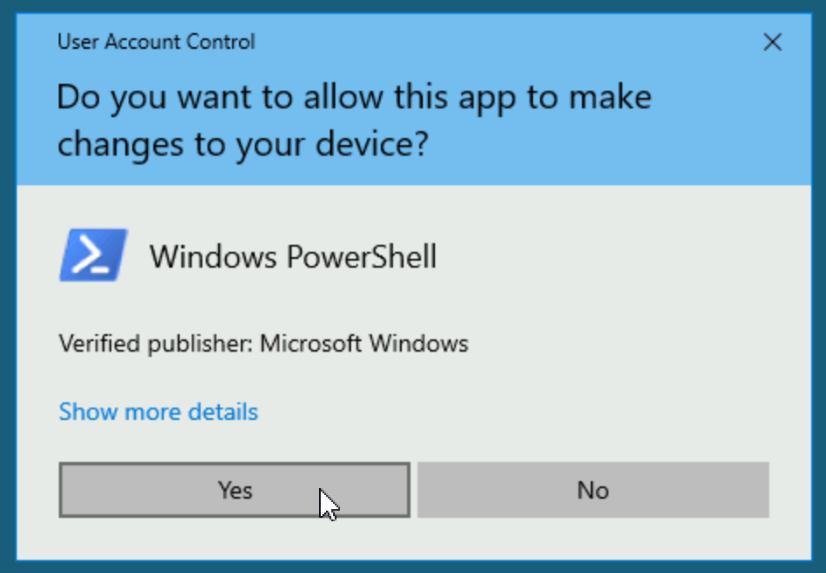
Step 2. Accept the promt, click on ‘Yes’
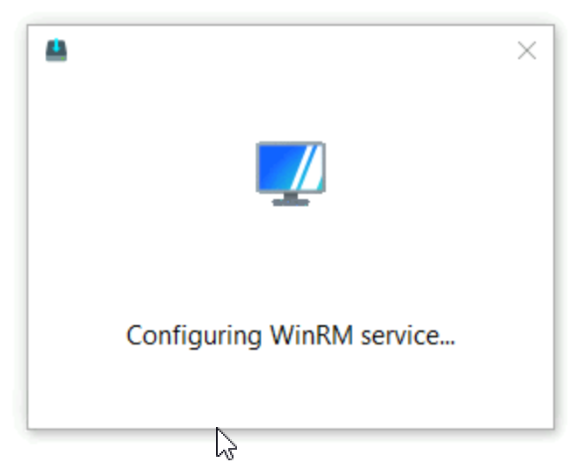
Wait for ServerEngine to complete WinRM service configuration…
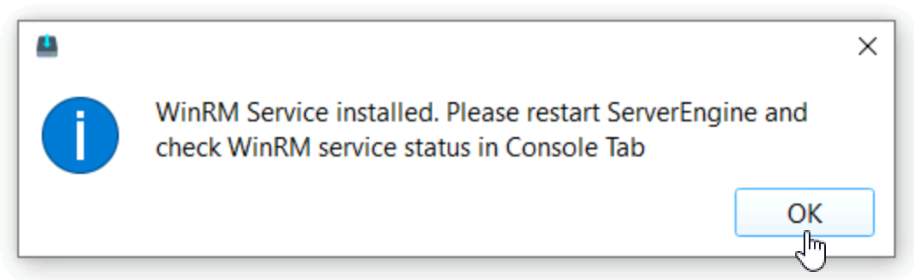
Once completed click on ‘OK’ and restart ServerEngine.
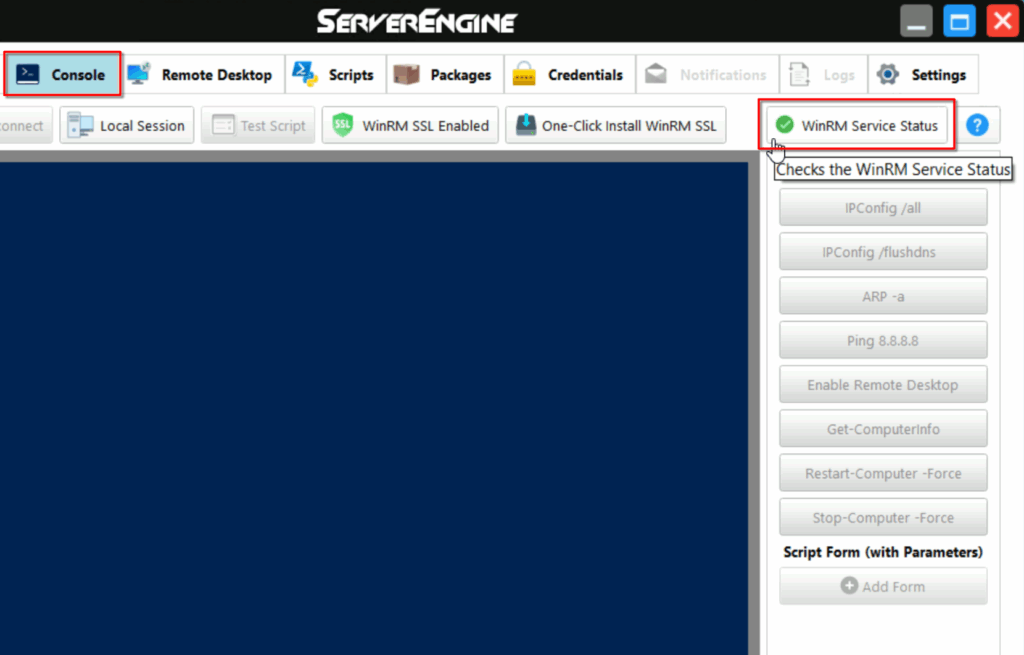
Step 3. Navigate to Console Tab and check if WinRM Service is green. (This might take a few seconds to refresh)
Save Credentials #
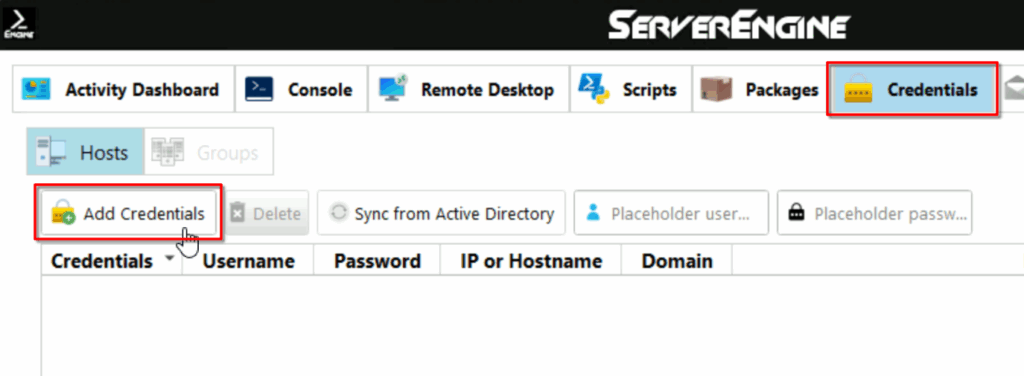
Step 1. Navigate to Credentials Tab and click on ‘Add Credentials’
Step 2. Double-Click ‘Username’ to edit and enter the username of your target host, press ‘enter’ to confirm. (User requires administrative privileges)

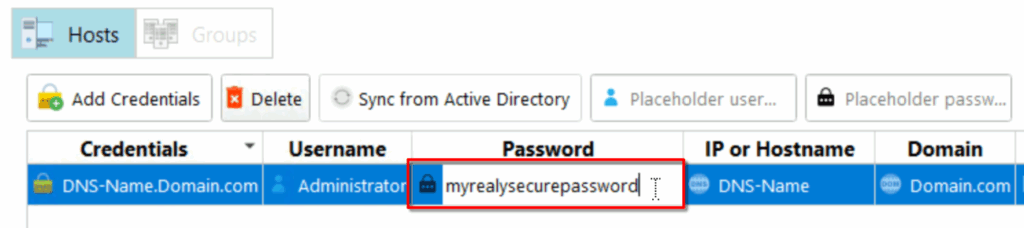
Step 3. Double-Click ‘Password’ to edit and enter the password for the user, press ‘enter’ to confirm.
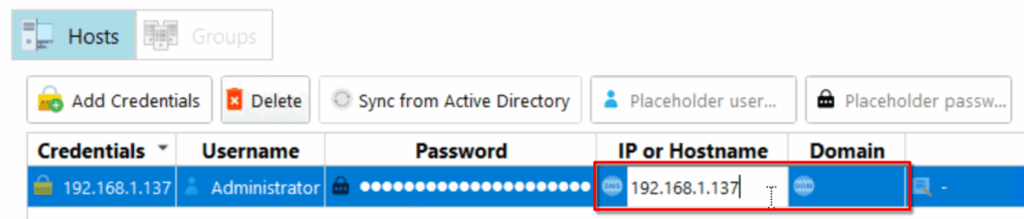
Step 4. Double-Click ‘DNS-Name’ to edit and enter the IP-Address or DNS-Name of the target host, press ‘enter’ to confirm.
(If you choose to use the IP-Address the Domain will be empty) for ex.
(If you choose to use the DNS-Name you also have to provide the Domain) for ex.

Enable WinRM SSL #
(Requirements: Windows Remoting must be enabled)
On Windows Server this is enabled by default on Windows 10 or Windows 11 remoting can be enabled using PowerShell (Run as Administrator):
# Enable Windows Remoting on Windows 10 or Windows 11
Enable-PSRemoting -Force
(Clarification: ServerEngine uses the WMI protocol to remotely configure WinRM SSL with a self-signed certificate)
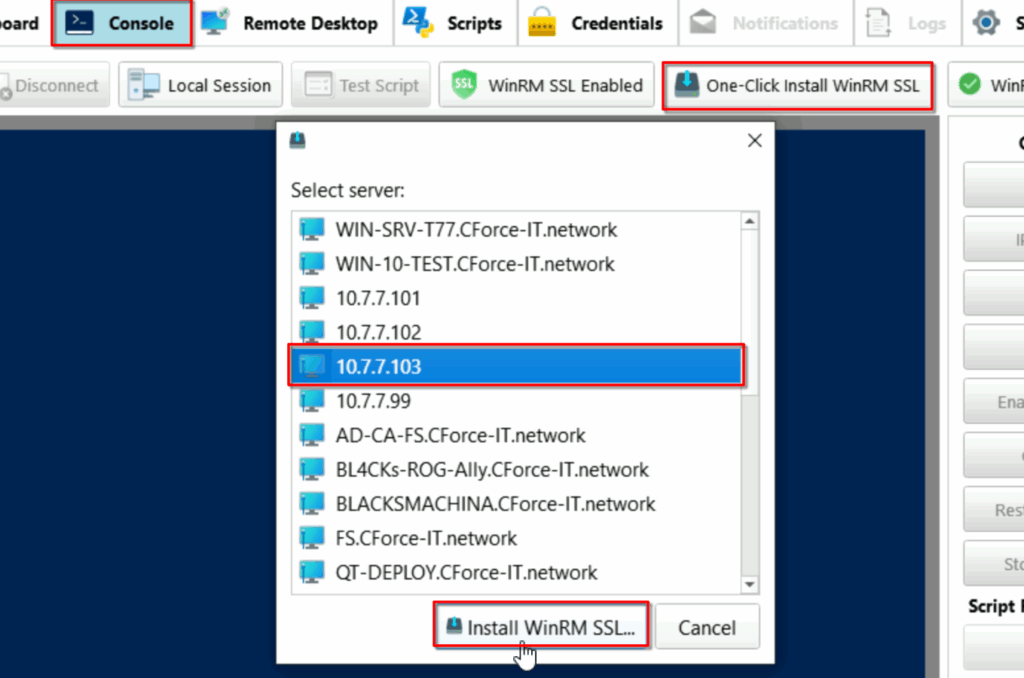
Step 1. To easily configure WinRM SSL on your target host, navigate to Console Tab and click on ‘One-Click Install WinRM SSL’

Step 2. Select your target host and click on ‘Install WinRM SSL…’
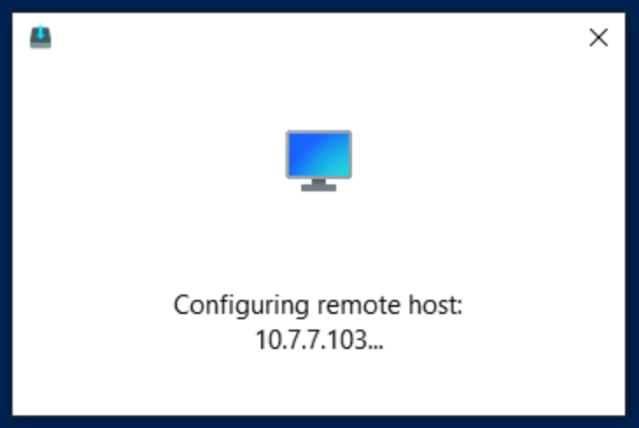
Wait for ServerEngine to complete…
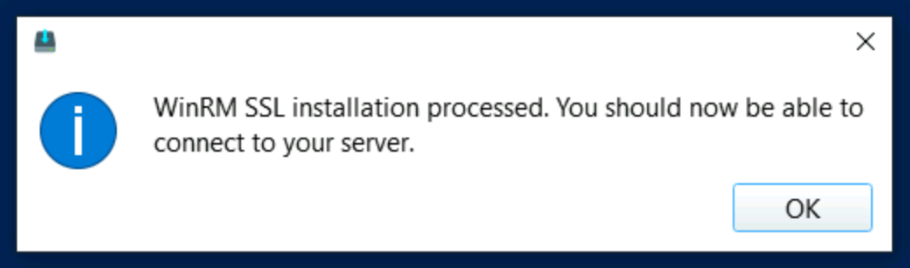
Once completed you should see the confirmation and click on ‘OK’
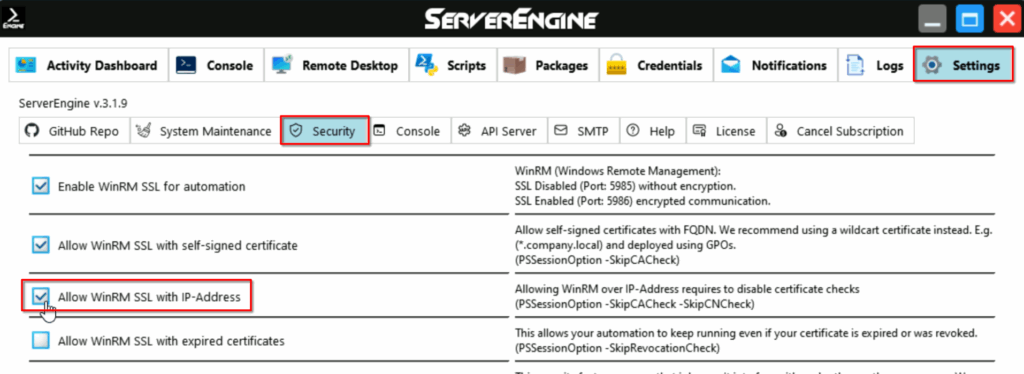
If you choose to use the IP-Address there is one more step to enable remote execution with IP-Address.
If you choose to use the DNS-Name you can skip Step 3.
Step 3. Navigate to Settings Tab and click on ‘Security’ and check ‘Allow WinRM SSL with IP-Address’
Create Your First Script and Package #
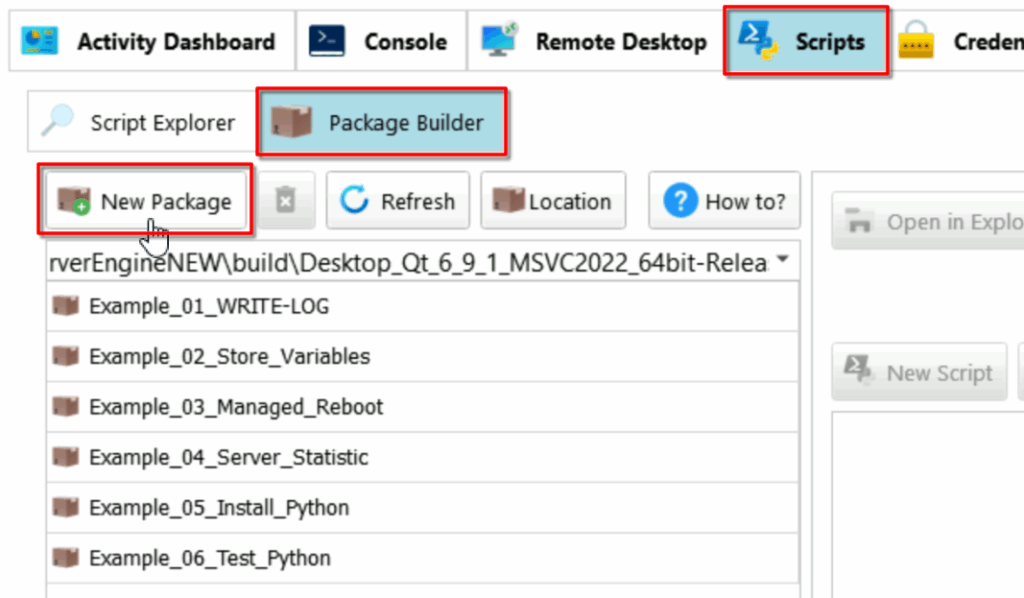
Step 1. Navigate to Scripts, Package Builder and click on ‘New Package’
(Packages are used to organize and bundle one or more scripts, when adding a job to the automation the package is used for assignment)
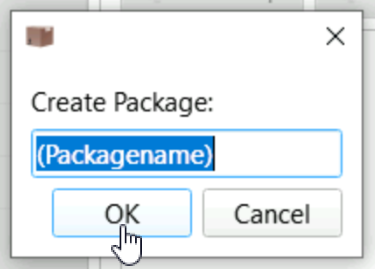
Rename the package if you like or just click on ‘OK’
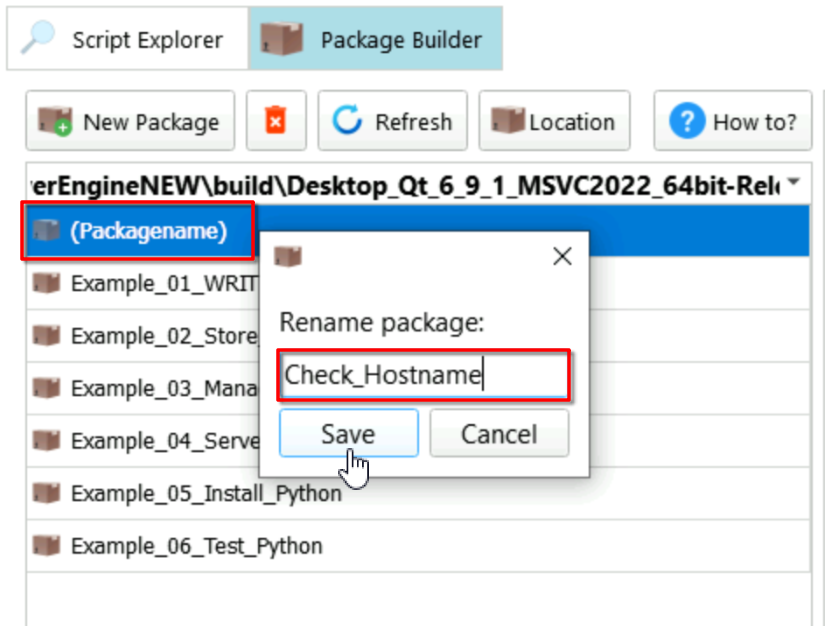
Step 2. Double-Click the ‘(Packagename)’ to rename the package, click on ‘Save’ to confirm
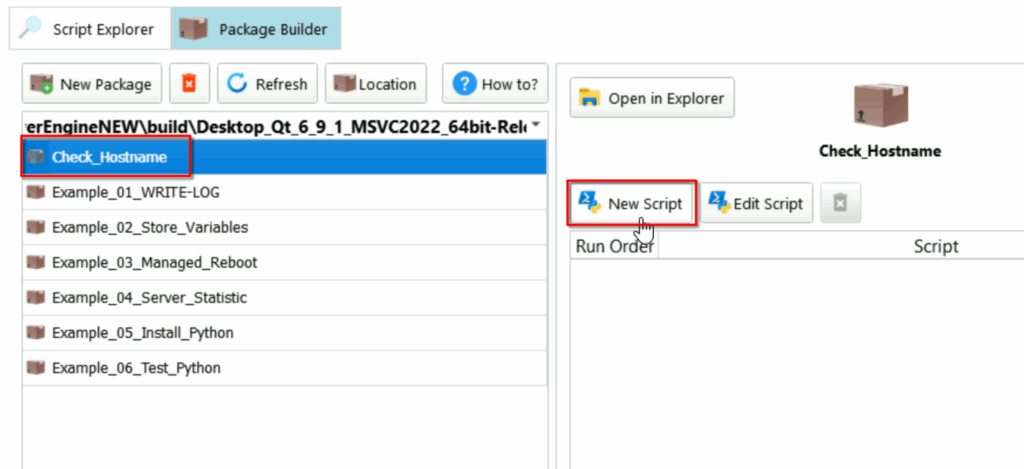
Step 3. Select your package and click on ‘New Script’
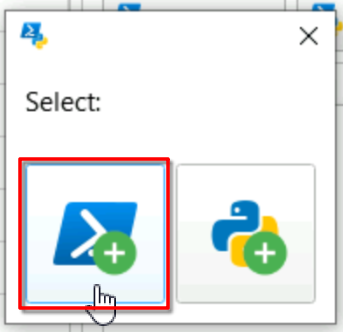
Select to create a PowerShell or Python script, for this example we click on the PowerShell Icon
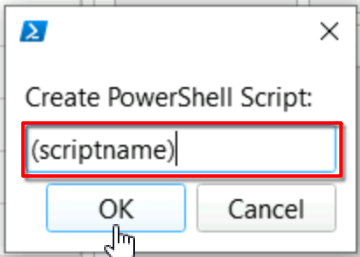
Rename the script or just click on ‘OK’
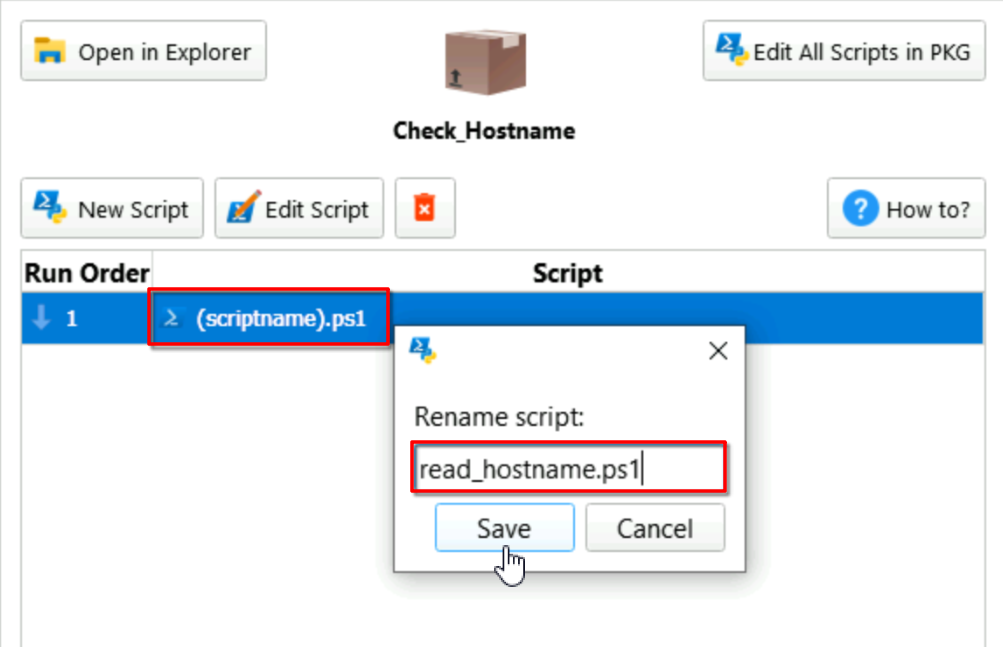
Double-Click the ‘(scriptname)’ to rename and click on ‘Save’ to confirm
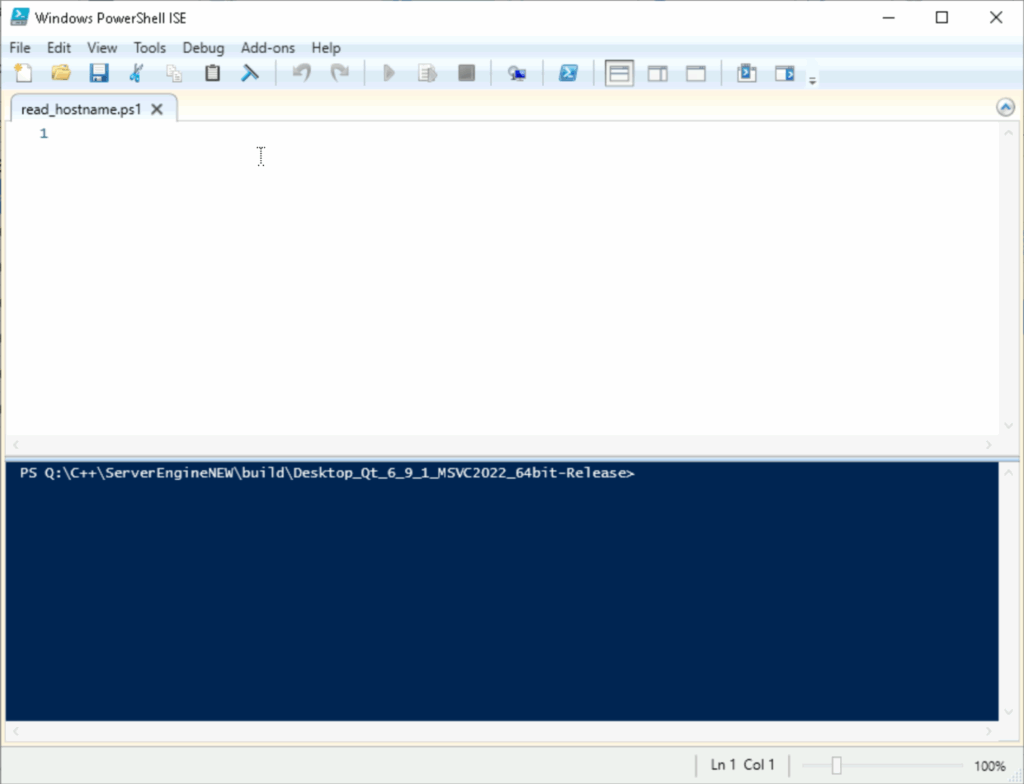
Step 4. Select script and click on ‘Edit Script’
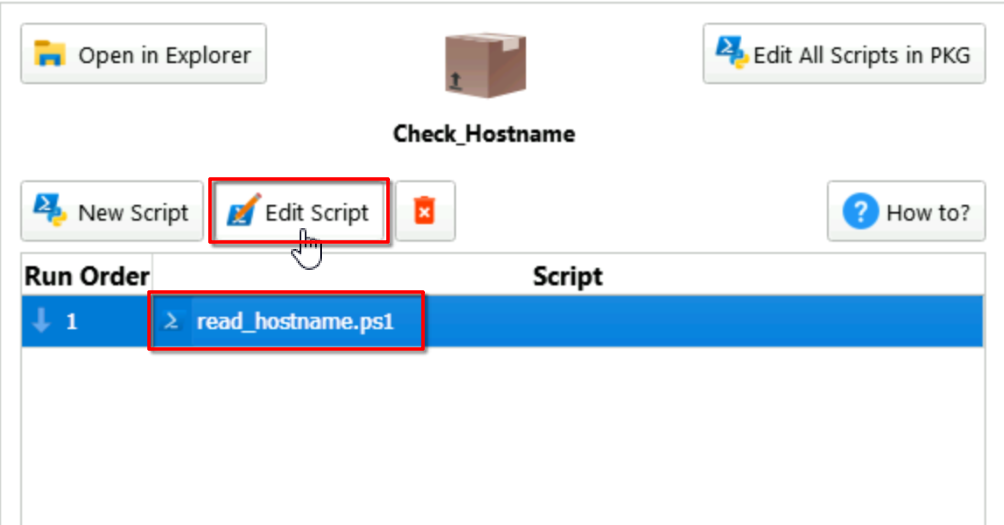
ServerEngine will open PowerShell ISE as Editor, now you can start writing and testing your first script
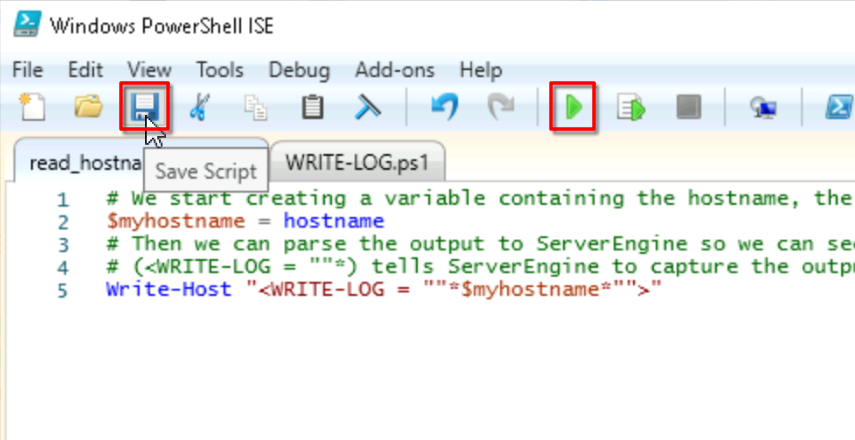
Step 5. Write this code to resolve the hostname:
# We start creating a variable containing the hostname, the command hostname resolves the hostname of you pc
$myhostname = hostname
# Then we can parse the output to ServerEngine so we can see it in the ServerEngine log
# (<WRITE-LOG = ""*) tells ServerEngine to capture the output and (*"">") where it ends
Write-Host "<WRITE-LOG = ""*$myhostname*"">"
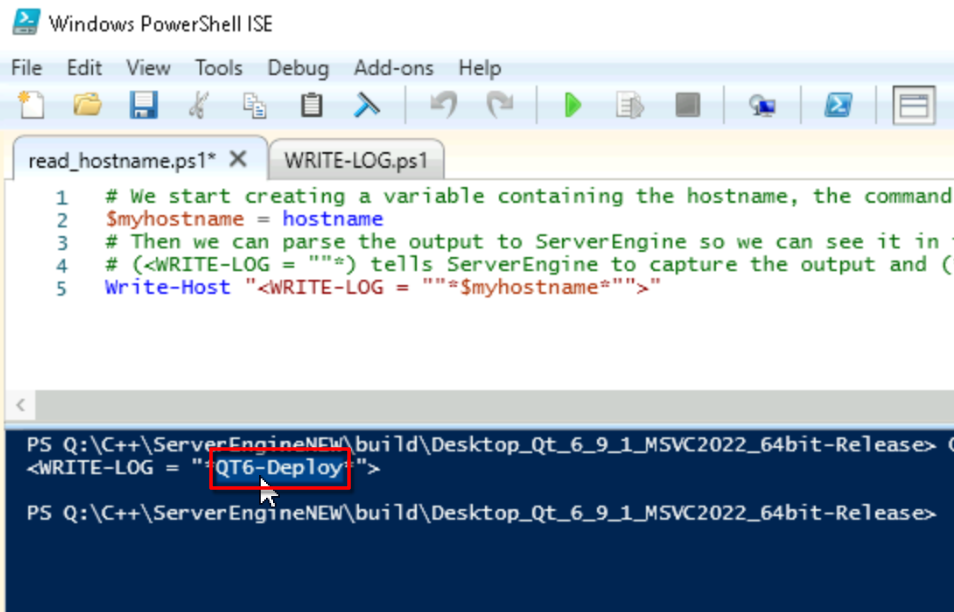
To test your code 1. Click on the save icon 2. Click on the play (run) icon
Check the output, you should now be able to see your pc’s hostname
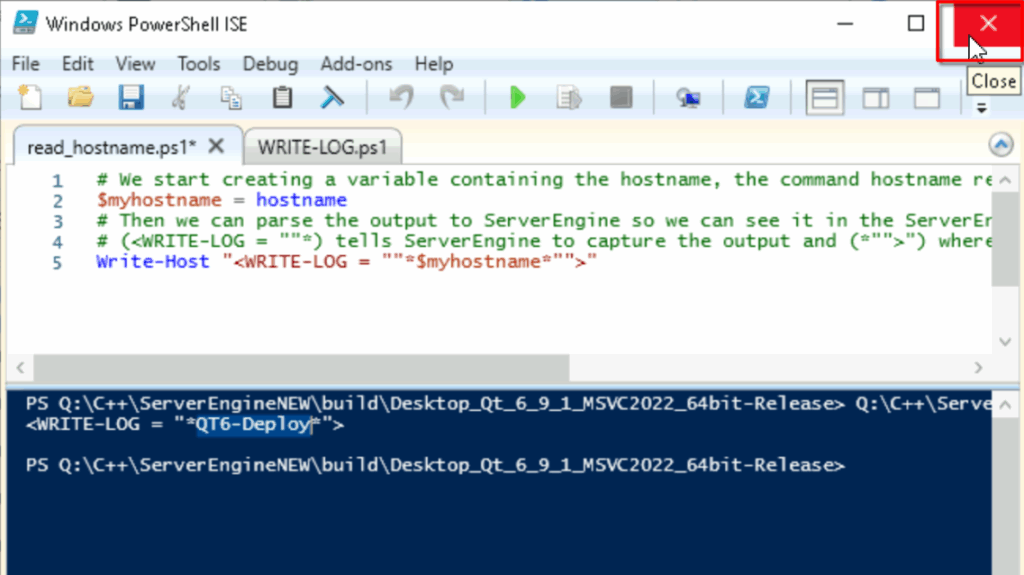
Now that you have verified a working script you can close the editor
Run Your First Job #
Step 1. Navigate to Activity Dashboard Tab, Automation and click on ‘Add’

Step 2. Click on the package icon

Step 3. Select the package you want to run and click Next

Step 4. Select a single or multiple hosts and click on ‘Assign to Automation’
(Already saved credentials are shown in this list)

ServerEngine will add it to the automation
(ServerEngine then assigns a unique Job ID)
(The Agent icon will appear when the agent starts working on a job, the agent handles connecting to the host running the script and handle reboots if needed)
(Each agent can run one job at a time, in the top right you can see how many agents you have purchased, the free license includes only 1 agent)
(You can also see the status for the job to easily identify what is happening at a given time)

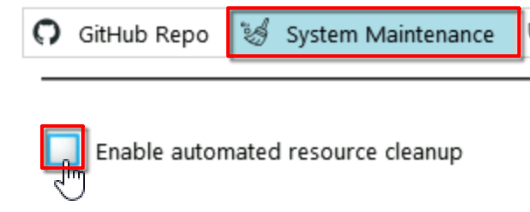
Once the job is completed ServerEngine will automatically clean the Dashboard, you can disable this in the Settings Tab under System Maintenance if you like. Just uncheck ‘Enable automated resource cleanup’
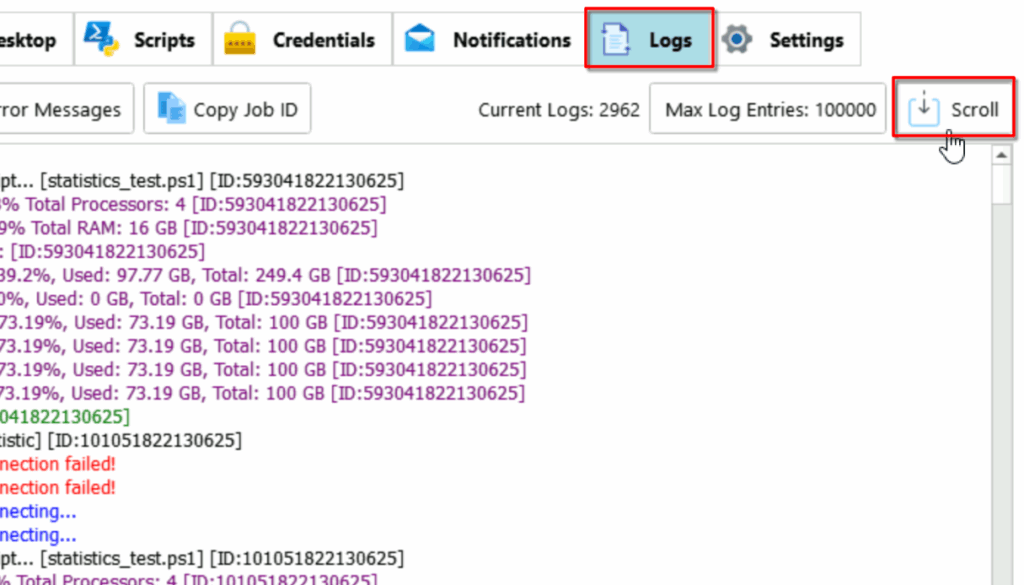
Step 5. Check Logs, navigate to Logs Tab and click ‘Scroll’
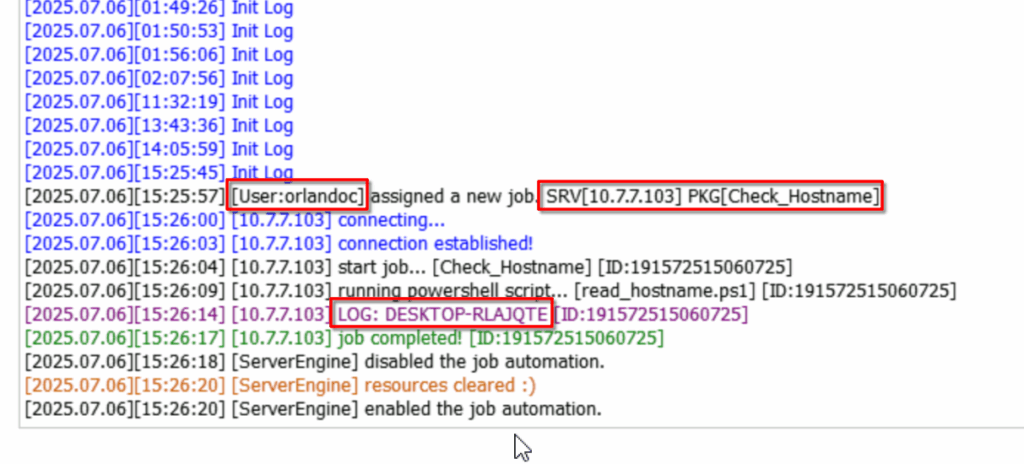
- You can see the user that assigned to job
- You can see the target host and package
- You can also see the parsed output from the script which we parsed to ServerEngine which was the host name of the target host
- ServerEngine will automatically cleanup the dashboard if all jobs are completed and no agent is currently working
That’s it! If you have any questions feel free to reach out, we are happy to help! ❤️
Mail: [email protected]